MIT Integration Journey
Process Overview
The MIT Integration Journey consists of four parts:
- Request subscription checkout to provide SmartPay with basic consumer details for payment option verification.
- Render SmartPay Widget to collect consumer's payment option. Please note that the consumer's consents need to be managed on your side.
- Request MIT charges via API request according to your needs.
- Handle MIT exceptions / payment option or consent expiry.
It is merchant's responsibility to request consumer's consent and to manage storing of the payment option, as well as maintaining processes to update expired/invalid payment options and/or recovery of failed or charged-back payments.
Please contact your Product Solution Specialist for further details.
Request Subscription Checkout
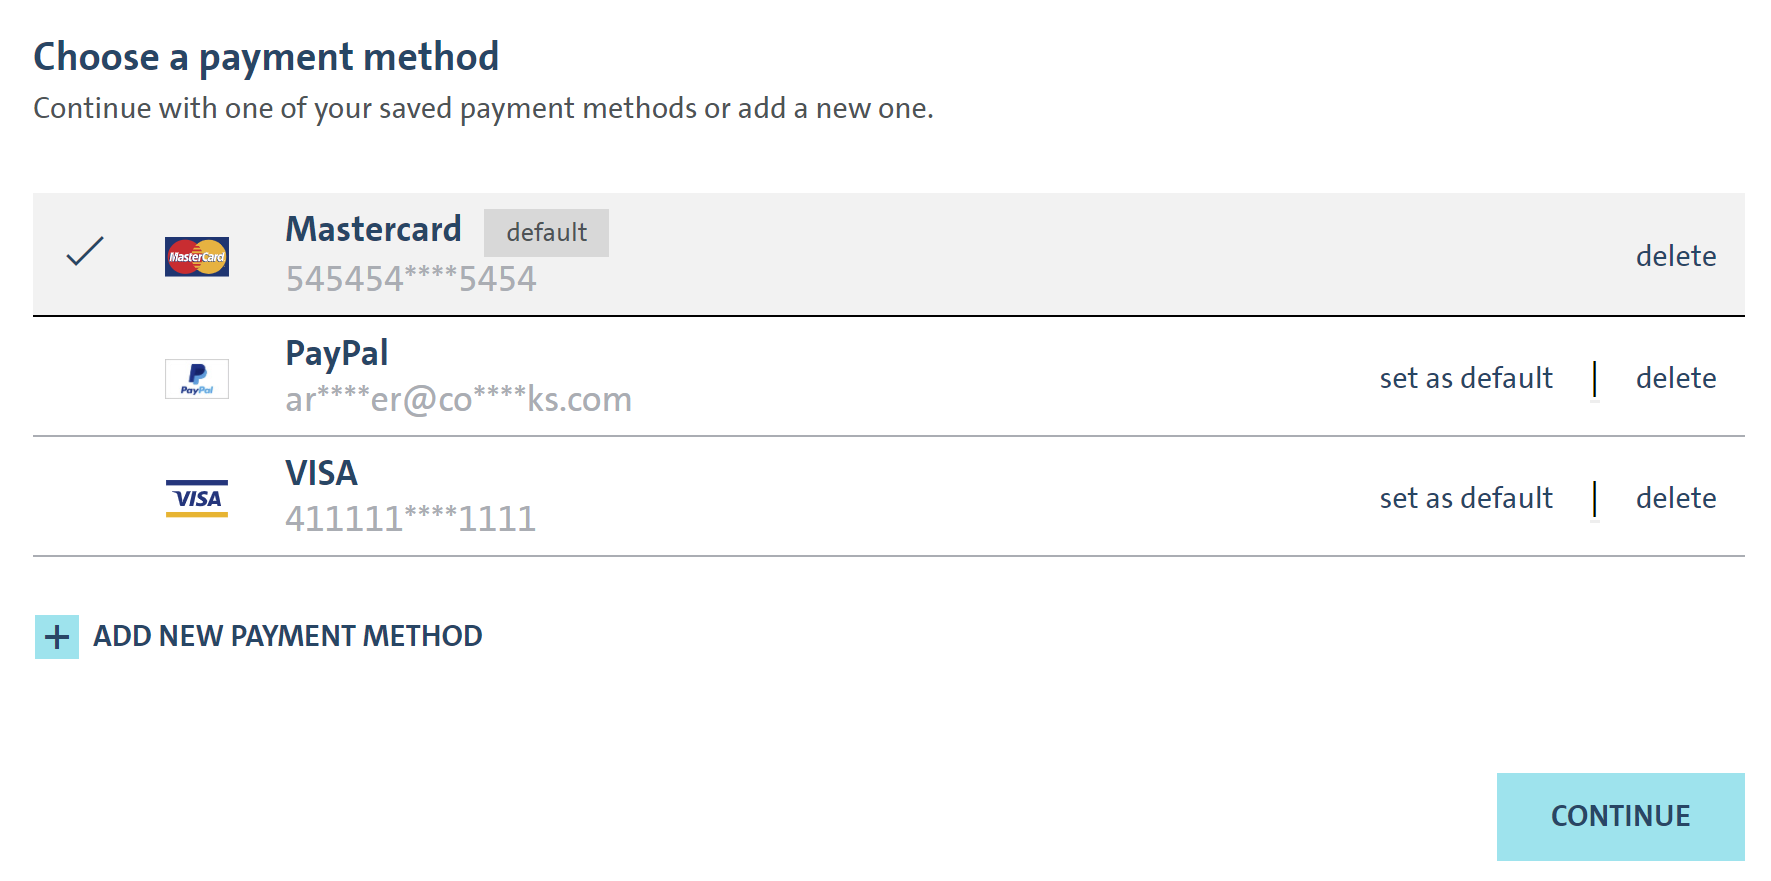
To request a charge, you first need to ask your consumers to store a payment option. SmartPay SDK supports this process by providing endpoints and SDK components covering payment option selection and storing.
To render SmartPay SDK, you first need to request a checkoutToken by calling our Create Subscription Checkout API method. It is like SmartPay's Create Checkout API, with the difference that it will not authorize a payment.
To request a subscription checkout, complete the following steps:
- Request a
checkoutTokenandsubscriptionIdby calling Create Subscription Checkout. - Persist
subscriptionIdandcheckoutTokenin your backend and forward thecheckoutTokento your client for initialization of the SmartPay Widget.
Sample request of Create Subscription Checkout:
Path:
POST {Base URL}/payment/mit/subscription/creation
Header:
Content-Type: application/json
Accept-Language: en-US
{
    "merchantKey": "48c4e923-e88c-464b-a4e7-ccb2c6d3775e",
    "customerAccountId": "customer_accno_ref",
    "payment": {
        "currencyCode": "PLN",
        "amount": 0,
        "description": "Register MIT"
    },
    "consumer": {
        "emailAddress": "hells.butcher_001@mail.com",
        "gender": "m",
        "lastName": "Hells",
        "firstName": "Butcher",
        "middleName": "fon",
        "title":"Mr",
        "culture": "de-de",
        "dateOfBirth": "2000-01-01",
        "mobilePhone": "015xx22-2135466",
        "taxId": "00745948504594"
    },
    "billingAddress": {
        "address": "Leopoldstrasse",
        "number": "244",
        "city": "Munich",
        "postCode": "80807",
        "countryCode": "DE"
        }
}
The Create Subscription Checkout response includes the 36-character GUID of the subscriptionRequestId.
For transactions using Apple Pay or Google Pay™, please consult the respective integration pages for details on required domain configuration and button styling parameters within the object criteria.
Response
Status:
200 (OK)
{
    "subscriptionId": "9038cf01-e066-4cf9-b62b-df19b5590eed",
    "checkoutToken": "VpyBoZj54PNRfpWNkQQN7FnTzAb2UcXF4kfRpviAXPxq5WnhHwXIdY3dqRV9MGXM",
    "requestTime": "2023-04-06T14:45:24.429Z"
}
Render SmartPay Widget
With the checkoutToken provided to your client application, you can guide your consumer to complete the payment option registration journey.
Following flow components are provided by SmartPay Widget:
- Customer securely submits their payment instrument information via the initialized SmartPay Widget.
- Within the process, the payment option is getting verified - e.g., the consumer will have to approve a 0 ct / 0,01ct authorization on the used credit card to proof that the card is owned by him.
- Return of
storedPaymentOptionreference withinonSubmitCallback.
On top, you need to design and build:
- A journey allowing your consumer the selection of goods / services plans to be paid through MIT.
- Logic to load our SmartPay widget and handle callbacks.
- Processing logic for our
onBeforeSubmitJavaScript callback to retrieve thestoredPaymentOptionReferenceof the selected payment option. - Storing of
storedPaymentOptionReferenceon your side.
Please see the respective SDK description for further details.
Web Checkout
Request MIT Charges
The Widget returns you the result of the selected payment option's storedPaymentOptionReference via onBeforeSubmitHandler or errorHandler JavaScript callbacks. This should be the trigger for your backend server to store the storedPaymentOptionReference provided via the handler.
To perform a charge, you need to call the following API request:
Request
Path:
POST {Base URL}/payment/mit
Header:
Content-Type: application/json
Accept-Language: en-US
{
    "merchantKey": "73afeb44-432e-4b91-be37-a6b3d2fb7447",
    "storedPaymentOptionReference":"8ac7a4a1750295aa0175074a2eb366d4",
    "customerAccountId": "Test-123",
    "modificationID": "astgdfstt23412asfa",
    "payment": {
        "currencyCode": "EUR",
        "amount": 95.08,
        "description": "SMP*MIT*Transaction-01"
    },
    "billingAddress": {
        "addressLine1": "Leopoldstrasse",
        "addressLine2": "line 2",
        "addressLine3": "line 3",
        "number": "244",
        "city": "Munich",
        "postCode": "80807",
        "countryCode": "DE"
    },
    "consumer": {
      "lastName": "John",
      "firstName": "Doe",
      "emailAddress": "john.doe@mail.com"
    }
}
Response
{
    "description": "SMP*MIT*Transaction-01",
    "paymentStatus": "CAPTURED",
    "creationDate": "2021-03-10T14:12:44.911Z",
    "lastStatusDate": "2021-03-10T14:12:47.485Z",
    "transactionOverview": {
        "amount": 95.08,
        "currencyCode": "PLN",
        "mit": true,
        "transactionId": "ff055129-b9a9-44c7-906f-b9680055e008",
        "paymentMethod": "CARDS",
        "customerAccountId": "Test-123",

    }
}
Evaluate the response parameter paymentStatus which should be:
AUTHORIZATION_COMPLETEDif the transaction was successfully authorized (auto-capture = off or delayed)CAPTUREDif the transaction was successfully captured (auto-capture = on or capture API called)AUTHORIZATION_PENDINGorCAPTURE_PENDINGif it the was not synchronously completed
Where this is not the case, please log/store in your administrative/support console the full response for later analysis.
Our customer support especially requires:
transactionIdreconcialationReferenceIdpaymentStatuscreationDate
You need to persist the response parameter transactionId which is the SmartPay transaction identifier. It is to be used for any SmartPay modification API.
Handle MIT Exceptions
Within the MIT journey, you only store a payment option token. Any time you request an MIT charge, this token will be used to request an actual charge from your consumer's funding source, which triggers an authorization request to the issuer. This request may fail due to several reasons:
- Payment option has insufficient balance.
- Payment option is expired.
- Consumer canceled the contract with the issuer.
- Payment option has been flagged as "stolen" or "abused".
- Issuer risk management decision.
Partially, those events can be predicted by e.g., storing and evaluating the expiryDate from onBeforeSubmit JavaScript callback and ask your consumer to renew payment option upfront. Some events may come unpredicted and result in a failed create MIT transaction request.
To handle such cases, we suggest implementing as required:
- Communication processes about failed payments to the consumer.
- Provide journeys to update the payment option (create a new
subscriptionIdand retrieve a new payment option). - Measurements to pause/stop service delivery in case of failed payments.
- Reminder, dunning and factoring flows.
- Logic to charge failed payments within the next payment run.
Please note: The provided examples are not exhaustive and need to be adapted to your scenario. For any payment transaction, the issuer of your consumer's funding source has the ultimate right for decision.
In case of further questions on this matter, please reach out to your Product Solution Specialist of MPS customer support.
Please refer to our API-Reference collection for Create Subscription Checkout API and Create MIT Transaction API details.